
Blog Layout
How To Install A Paver Patio
Zach Jones • January 19, 2025
How To Install Paver Patios the right way
This article is going to go over general information surrounding patios. We hope in the near future to have a "how to video" on how to build a patio step by step. Depending on when you read this article, we may have the video already up.
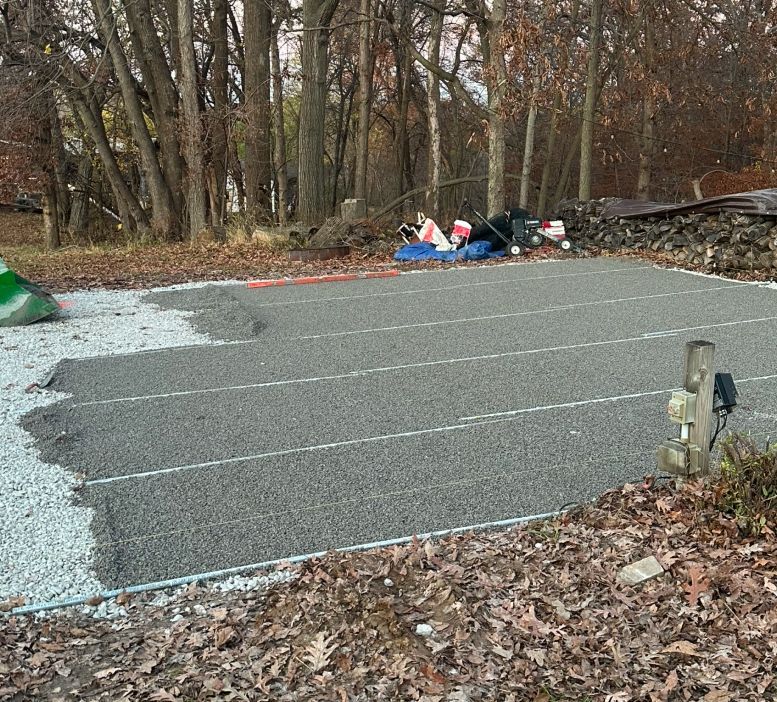
1. The first thing you need to do is determine how deep you need to excavate. This could change depending on the soil conditions, but this is where you want to start. For foot traffic, the thickness of your base needs to be at least 6" and if the paver patio is going to hold heavier loads, then you are going to want to thicken your base closer to 12". Let's say the paver patio you're going to build is for foot traffic. You will need to go down 6" for the base, 1" for a bedding layer and then down the thickness of the paver that you are using. For example: Paver is 2" thick, that means that you need to excavate a total of 9" to account for the 2" paver, 1" bedding layer and 6" base.
2. Next, you need to determine what base to use. We prefer to use what is a called an open graded base as it is great for our region in resisting the effects of freeze and thaw. The open graded base consists of using clean stone. For the base, you can use 3/4" clean or 1" clean and then for the bedding layer, we use a 3/8" chip. You can also install your pavers on what is known as a traditional base. That consist of 3/4" stone all the way down to fines with the bedding layer being sand. The downside to the traditional base is that you have to be more carful With the compaction process and it also holds moisture that can end up becoming a problem for your patio installation down the line. When using open graded base, when you put the stone in the excavated area, it is already over 90% compacted, making it easier to ensure you get proper compaction.
3. At this point you have identified how deep you need to excavate and what base material to use. Go ahead and excavate. After excavation, compact the soil and make sure there is no loose soil in the excavated area. This part is very important and the bigger the compactor in terms of the forces it produces, the better.
After compacting, before we can put the base in, we need to evaluate the site conditions. If the soil seems to be firm and sturdy, you can move on. If you are dealing with clay sponge soil, you can do a couple things. You can continue to dig down tell you get to firmer soil or do a soil correction. If the soil is very sponge, the recommendation is to excavate more, but if it is slightly sponge, soil additives (soil correction) could be your solution. If needing to do a soil correction, start off by putting down lime and rake the lime into the soil (give it some time to work) then compact the soil. Then if that is not working, put down some type s mortar and rake that in (give it some time to work) and compact the soil. If it is still not working, compact some stone into the soil. If that didn't work, you may have to excavate more. When we deal with sponge soil, we go ahead and do all the steps at once and let everything sit for a few hours to see if the ground is firming up. If doing all of that and you are sill questioning the strength of the soil, that is when you want to contact an engineer and what will likely be recommended is to do a proctor density test. This test is going to make sure the ground is properly compacted. You don't see this test very often on residential sites because of the cost, but we typically give this test as an option for our customers. The last time we did this test, it cost right around $600. If you do the test and it comes back that it is not properly compacted, the in field worker doing the test should be able to recommend what to do to achieve the proper compaction.
4. Once you have the ground or what we call the sub-grad ready to go, you can start putting in your base material and compacting in lifts. We like to take our installations a step further for extra protection. Before we put the base in, we like to use a separation fabric, this is strongly recommended if you are working with clay soil. This fabric makes sure that the base does not mix into the soil as best as possible. Then we like to install drive grid or bi-directional geo-grid in our bases for extra stability. When installing the base, you need to compact in lifts depending on the force produced by your compactor. A lot of walk behind homeowner grade compactors can only compact 2-3" of material at a time, which means you need to put 2" of base down, compact the base, add 2" more of base, compact the base and you do this tell all your base is in.
5. Then you want to install a 1" bedding layer making sure you have a slope of at least 1/8" drop every foot for water drainage.
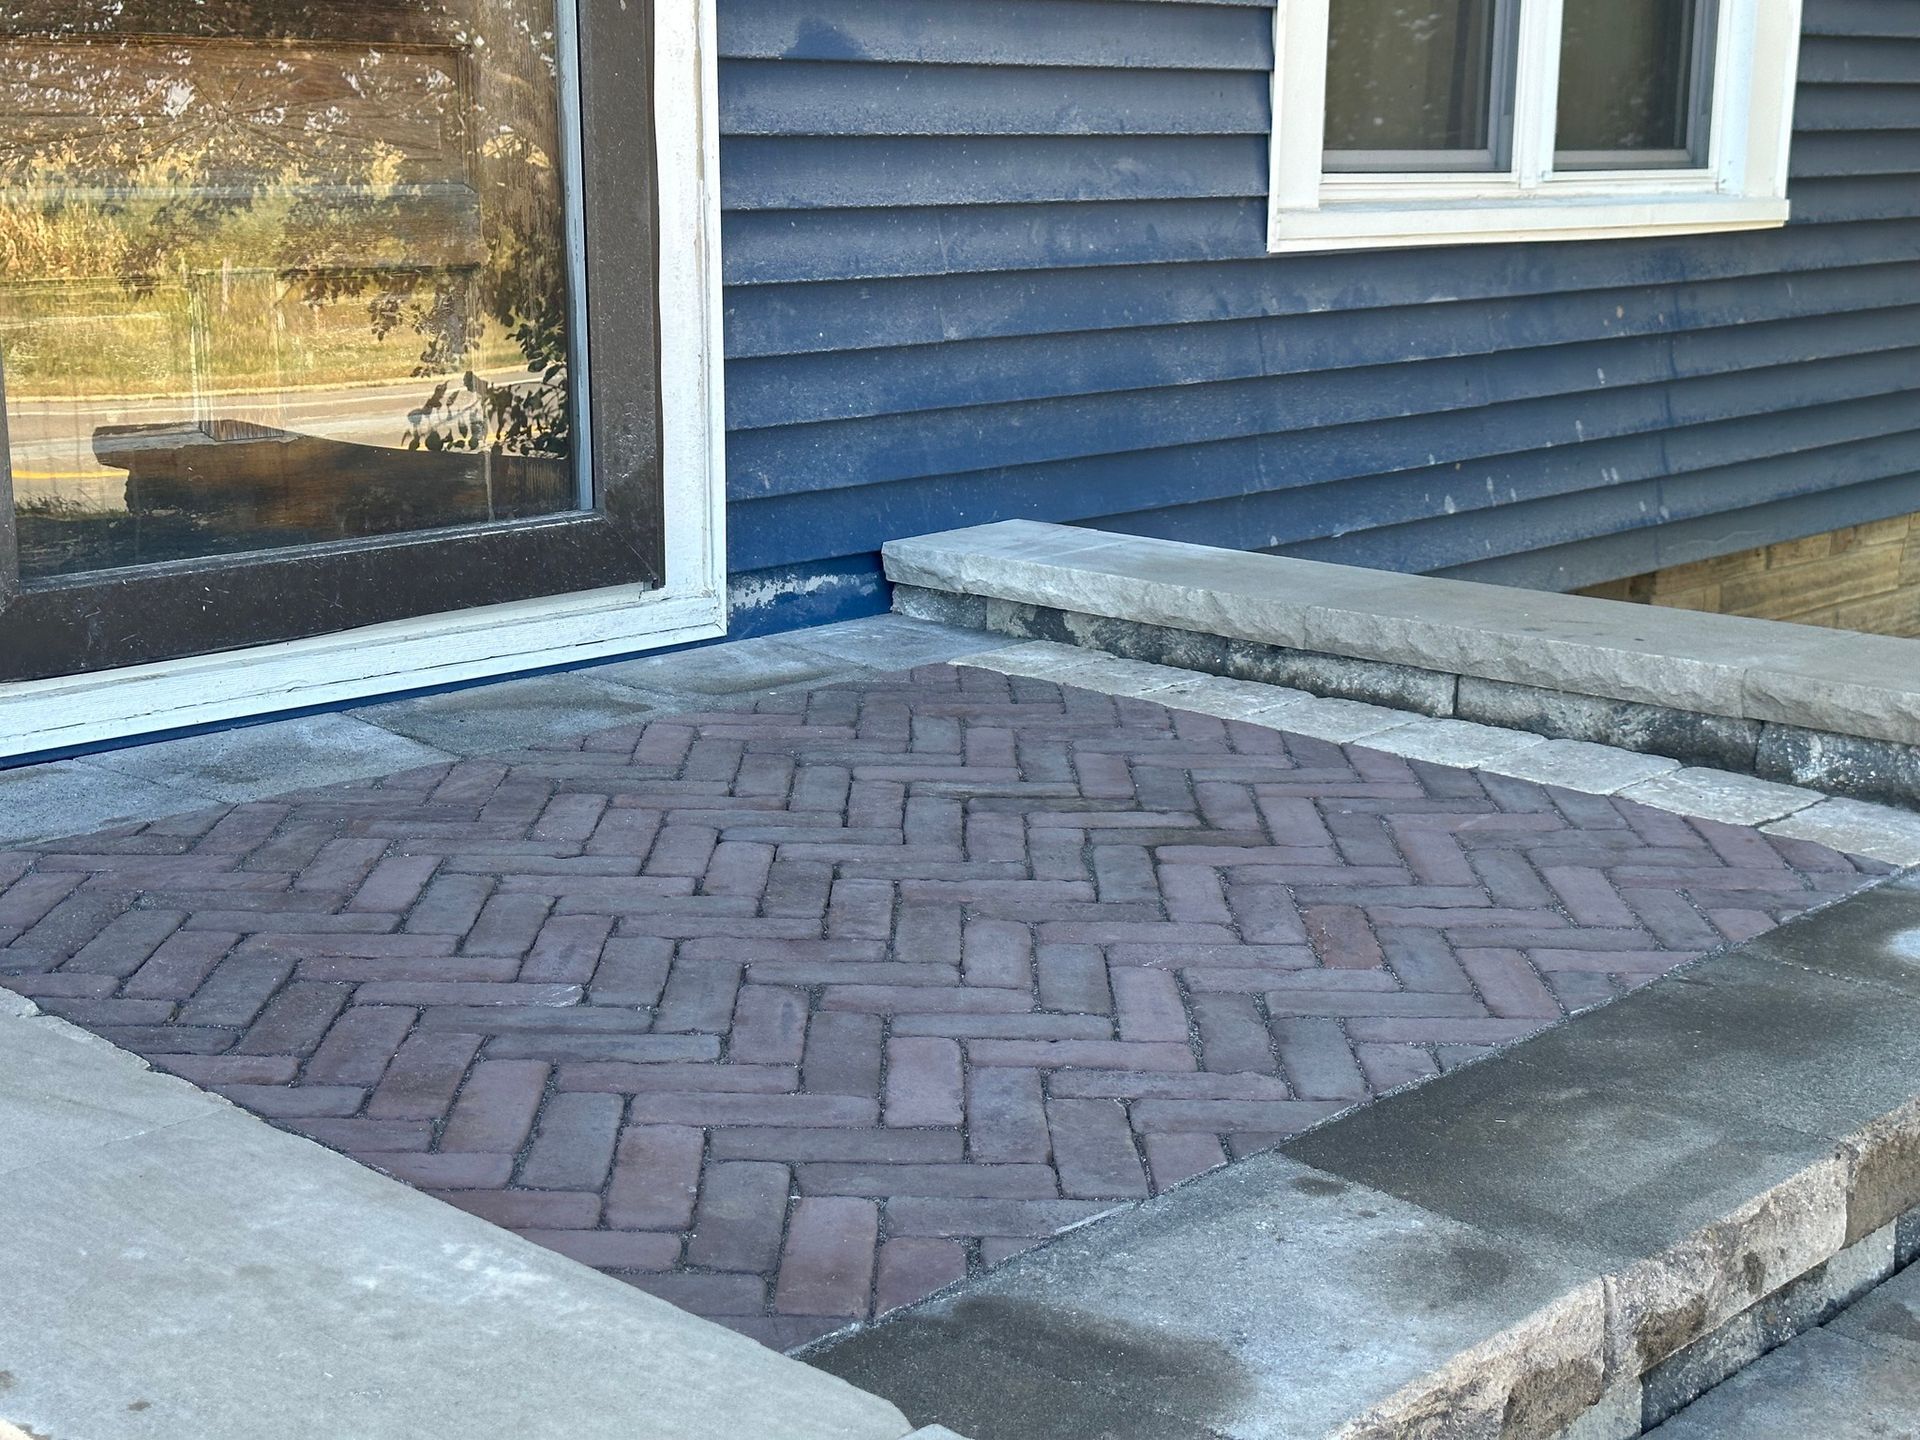
6. Install your pavers, install a jointing sand and an edge restraint of your choosing. For the edge restraint, we use Edge Crete.
Above are some insights on things to consider when building your next paver patio! If your wanting assistance on your installation or just want to hire someone out, give us a call at 563-241-8462 or email us at raptorturflandscapingllc@gmail.com
Professional landscaping, lawn care, and hardscaping in Tipton, IA. Call (563) 241-8462 today to transform your outdoor space!
Reliable landscaping, lawn care, and hardscaping in Tipton, IA. Call us today at (563) 241-8462 to get started!

Transform your outdoors with landscaping, lawn care, and hardscaping in Tipton, IA. Call (563) 241-8462 for expert services!


